Tuesday, November 15, 2016

How to put Together a Bathroom Renovation Timeline

Polka Dots & Rosebuds Interiors
Last week we talked about putting together a kitchen renovation timeline. This week, we continue this series as we move onto bathroom renovations. A lot of what we discussed last week holds true for bathroom renovations as well. Once again, every project is different depending on the size and individual needs. This makes it difficult to name a standard timeline for a bathroom renovation, but here are some elements of the process to understand before diving in. 

Polka Dots & Rosebuds Interiors

Try and have all of your selections made ahead of time so you can order everything and have it waiting once each sub-contractor is ready to complete the job. The last thing you want is for time to be lost because you are waiting on products to arrive. You can assume it will take around 3 weeks to get most of your materials in (ie. tile, harware, fixtures), but you want to add in buffers to that so you don't run into any backorder surprises.

Polka Dots & Rosebuds Interiors
One of the most important things to remember when doing any type of home renovation is that it is very hard to predict how long something will take and what you may run into. You never want to put yourself on a timeline that is squeezed in right before a major event you are hosting such as a holiday party or hosting guests of any kind because you can be sure something will come up and throw off that timeline. Try to pick a time of year where you have plenty of time after said renovation to be completed before you truly need it to be finished. When all is said and done, you can be looking at anywhere between 6-12 weeks for a bathroom renovation depending on the size and specifics.

Polka Dots & Rosebuds Interiors

Tuesday, November 8, 2016

How to put Together a Kitchen Renovation Timeline

Polka Dots & Rosebuds Interiors

There is no “standard” kitchen renovation timeline simply because every kitchen is a different size and renovation needs vary.  You have to factor in the availability of the sub-contractors (electricians, plumbers, etc). Ideally you can line them up back to back, but it rarely works out perfectly, so expect a couple days of downtime where no work is being done on your project

Polka Dots & Rosebuds Interiors

If you have all your selections made and materials ordered before demo begins, a project could be completed in as little as 6 weeks. If there are a lot of custom elements, walls torn down, plumbing moved, or hiccups in the project it could take as long as 3 months. 

Polka Dots & Rosebuds Interiors

Typically, cabinets take 4 weeks to manufacture.  When having custom cabinets made, the timeline can increase to 12 weeks or more, depending on the workload of the carpenter.
Most materials, such as tile, take 3 weeks from order to delivery, assuming the stock is good.
Granite takes 2-3 weeks from template to installation. The template cannot take place until your cabinets have been installed.

Polka Dots & Rosebuds Interiors

When talking with your contractor about the timeline of the project, add 2 weeks to the total timeframe.  This is simply to offer a buffer in case of any surprises found along the way.  Surprises could be anything from materials being backordered, to discovering the wall you want to tear out has an HVAC vent running through it, to ripping up the floor and finding rotten floor joists. Building codes also offer challenges in the renovation process. What may have been up to code when your house was built, may now be out of date and require some changes while you are renovating (think plumbing and electrical).

Tuesday, November 1, 2016

How to Transition form Halloween to Thanksgiving Displays

Keep your Solid Pumpkins but Ditch the Jack-O-Lanterns
kirklands.com
Although it can be tempting to keep those Jack-O-Lanterns and painted faced pumpkins up on your porch, when transitioning into Fall / Thanksgiving decor its best to say goodbye. Solid color pumpkins or even pumpkins with painted designs on them can easily transition into your new displays. 
sortra.com
Add in Leaves, Take out Anything Spooky
titicrafty.com
Leaves (both real or fake) are your friend when transitioning away from Halloween decor. When you take away things like witch hats or skeletons from your displays you may feel they look sparse. This is where adding in some great fall foliage can help your case! 
adventuresindecorating1.blogspot.com
Use Earth Tones and Neutrals
amzn.to
Halloween decor tends to lean toward black and oranges, so once you are ready to move on, switch to more neutrals and earth tones. These photos show two great examples of how using whites and tone on tone items makes for a gorgeous and clean look! It is a fun departure from your classic reds and oranges. 
instagram.com

Tuesday, October 25, 2016

Tips to Decorate for a Child’s Halloween Party

Candy-corn Fun
babymamajuice.com
When decorating for a child’s Halloween party, fun is key, and what is more fun than decorating with candy? Candy-corn is the perfect candy to decorate with for a party because of its fun color and its ability to stay looking great. Add candy-corn to the bottom of a mason jar then put your utensils inside for a fun addition to your table!
simplybeautifulkitchens.com
Decorate the Front Door 
brit.co
A great way to make a fun first impression is by decorating your front door. You can take this in any direction you wish. Get creative and make the whole door into a monster, or keep it simple with a festive wreath. The photo below shows a good example of how you can add some inexpensive toy bats to your door to add some extra spookiness to your classic display. 
townandcountrymag.com
Make the Table the Main Event
uncommondesignsonline.com
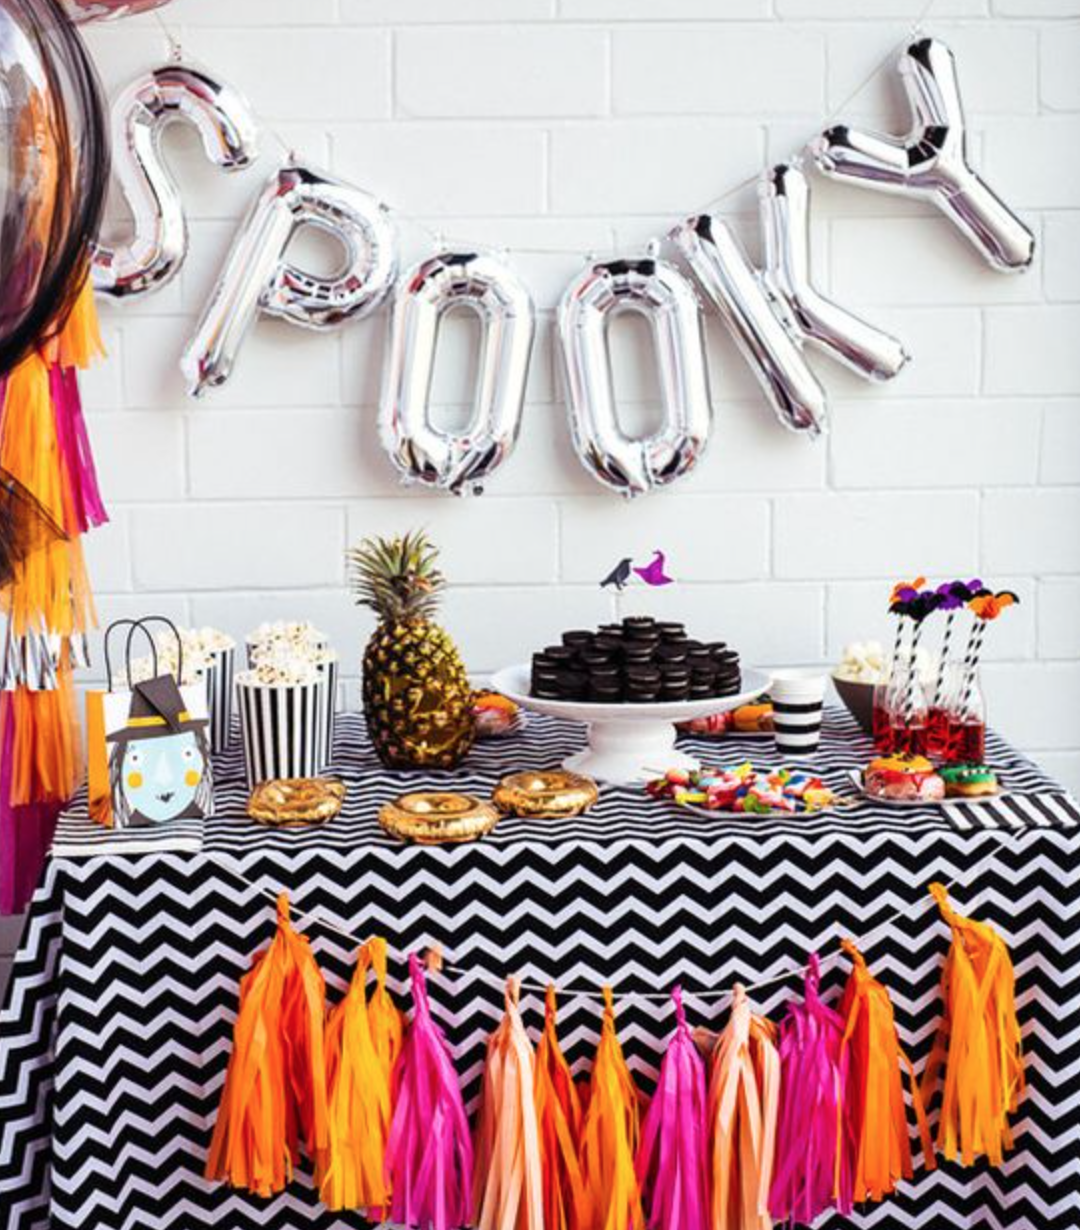
The food and snack table at the party is always where everyone wants to be. Take this opportunity to make the table your main focus for the Halloween decor. These photos both show how these people each chose themes and ran with them. This is a good tip for the decorations as a whole. Whether you want to go with classic black and orange or switch it up and go with blacks, whites, and purples you can’t go wrong!
100layercakelet.com

Tuesday, October 18, 2016

Our Favorite DIY Pumpkin Decorating Projects

Puff Paint
thegrantlife.com
One fun and simple way to decorate your pumpkins is with the use of puff paint. You can buy puff paint at your local craft store very inexpensively which makes it cost effective even if you want to buy many fun colors for your project. These photo examples show some ideas of just how you can go about creating a design with puff paint!
designdininganddiapers.com

clubchicacircle.com
Metallic Paint
livingly.com
Metallics are very on trend right now in both interiors as well as in the fashion world, so why not carry that over into your pumpkin decorating? This is a fun choice if you want your pumpkin display to be a little more trendy and stylish. You can choose whether you want to simply spray paint the entire pumpkin with metallic paint, paint it on with a brush, or even use a metallic paint pen. This makes it simple for you to choose the desired look you are going for. 
sincerilysarad.com

theperfectpalette.com
The Donut Pumpkin
studiodiy.com
We just love this adorable DIY donut pumpkin that is very popular right now. To create this look you simply paint the bottom half of the donut in a light cream/brown, then paint the top in fun colors you would see on the icing of a donut. To finish it off you simply paint thin lines in all different colors to create the sprinkles on the donut! 
yahoo.com

craftymorning.com

Tuesday, October 11, 2016

How to Decorate Outside for Halloween

Pumpkins + Mums
blesserhouse.com

Wondering where to get started when decorating outside for Halloween? Pumpkins and mums are the basis for any great Fall / Halloween porch display. Mums are the perfect, hardy flower for this time of year and they come in all kinds of fun colors that are sure to liven up your outdoor areas! This combination creates such a cozy and inviting entry to your home so you simply can't go wrong when you start with these. 

homestoriesatoz.com

Fun Signs
popsugar.com
Signs are a cute and interesting way to add to your outdoor Halloween decor. Whether you want to have fun with a little DIY or go out and get some cute store bought pieces they will certainly add something extra. These photos show some fun examples of how to incorporate signs into your display!
thegardenglove.com
Trick or Treat Bowls
sillypearl.com
Here is a fun idea for your outdoor Halloween decor; creating a stand of some kind for your trick or treat bowl to sit on for the big night! This can be something that you leave up all month long until Halloween arrives then you simply add the candy bowl on top, and you can even add a fun little sign as shown in one of these examples.
s-media-cache-ak0.pinning.com

Tuesday, October 4, 2016

How to Decorate Inside for Halloween


Mini Pumpkins and Gourds

kylieminteriors.ca

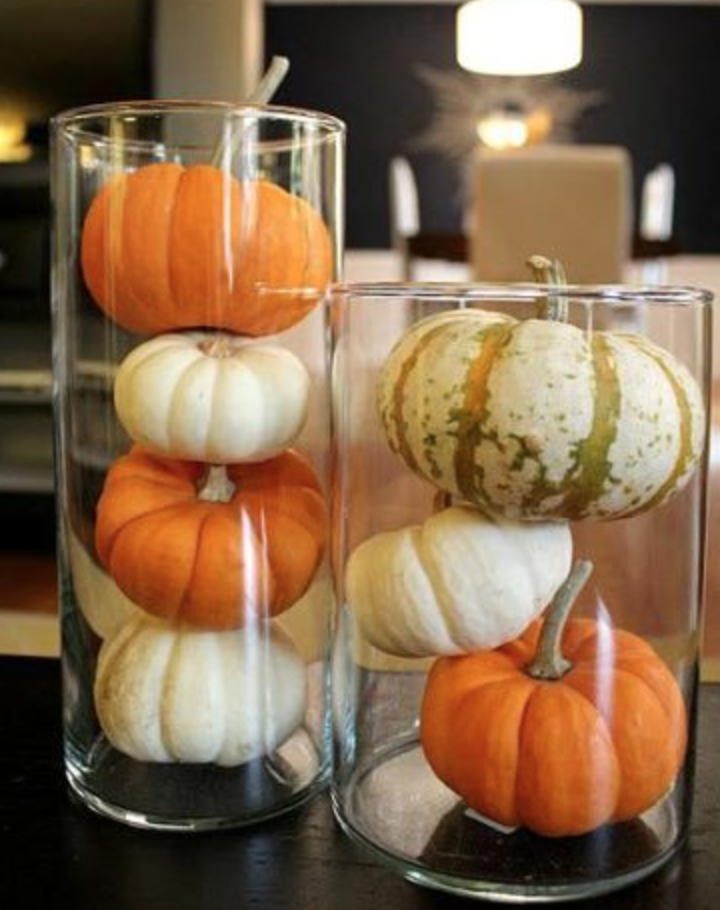
One easy way to decorate inside for Halloween is to use mini pumpkins and gourds. Save your larger pumpkins for the outside and have fun with the minis on the inside! These photos show some great examples of how you can incorporate them into your decor in the form of centerpieces or even just stacked in simple vases.

toneontoneantiques.blogspot.com
Fun Touches 

nattymichelle.com
One thing to remember when decorating inside for Halloween is to be careful not to overboard. For one, you are only going to want these decorations up for about a month so you certainly do not want to invest a lot in anything. Also, it is easy for a few tasteful decorations here and there to turn into a tacky display in no time when you begin adding too much. This is why its best to use fun touches here and there as shown in these examples. 

kitchenfunwithmythreesons.com

Throw pillows

thecompanystore.com

Throw pillows are an easy, inexpensive way to add some fun Halloween touches into your decor without going to over the top. One of the most inexpensive ways to achieve this is by purchasing pillow covers that fit your existing throw pillows. This way you are not having to buy the actual pillow which would make it more costly. 

etsy.com